
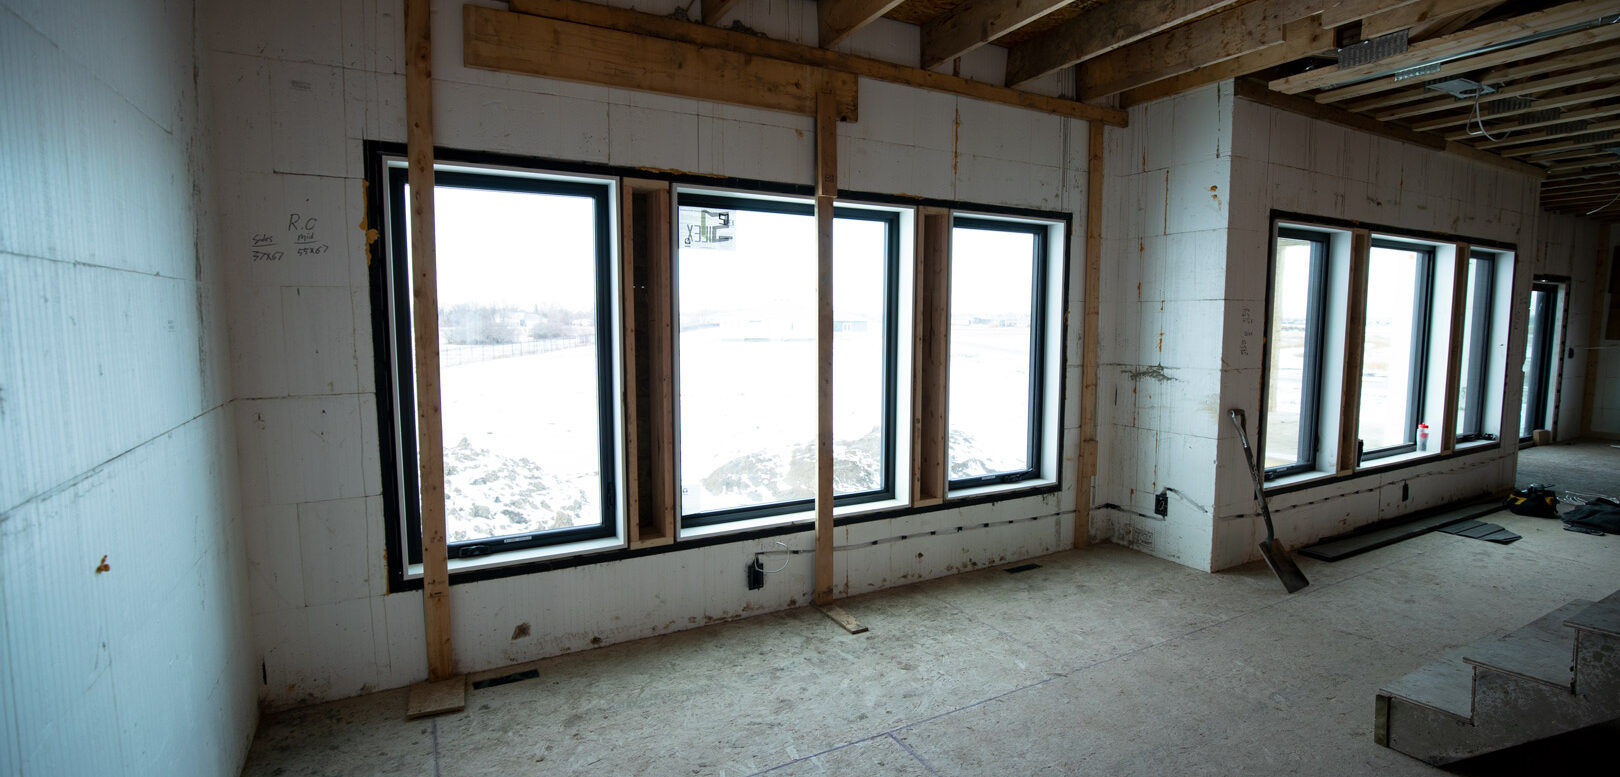
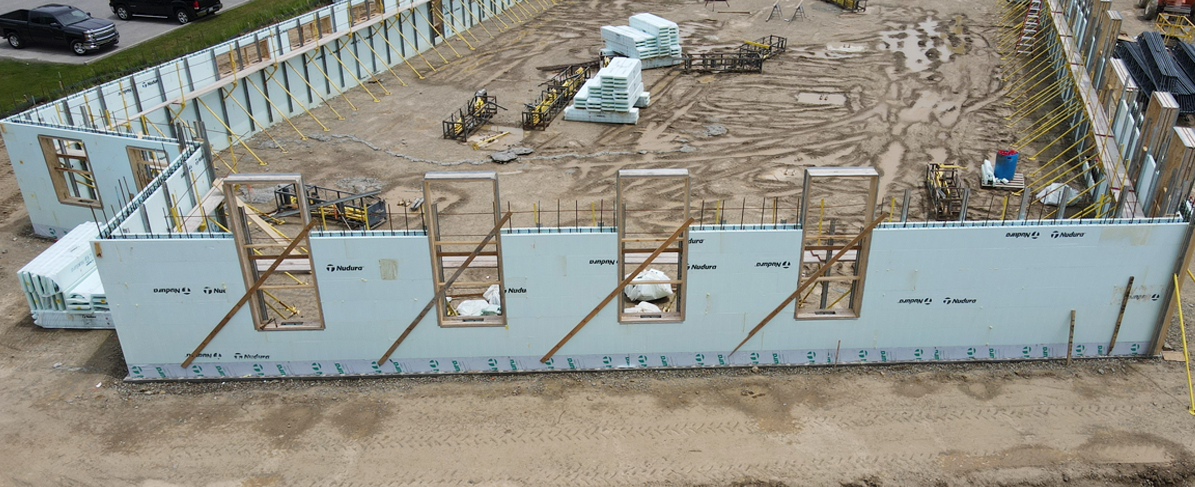
Window opening are a significant weak point in any wall’s envelope. And make no mistake, ICF walls are also vulnerable to water ingress through window openings — especially those that aren’t properly flashed.
But the good news is that conventional flashing methods work equally well in wood-frame and ICF walls alike. And if you want a particularly robust barrier against water ingress, you have more options to beef up your window assembly even further.
The article below lists the eight, relatively straightforward steps for flashing a flanged window assembly in an ICF wall. What’s more, our guide walks you through an optional technique — one that will take your mind off of infiltrating rainwater for good.
How to Flash a Flanged Window in a Logix ICF Wall in 8 Easy Steps
Flashing a flanged window in a Logix ICF wall is a straightforward process, as you’ll see below. Your biggest worry should be creating an adequate drainage channel at the bottom of the flange. Another key thing to note is that the flashing elements must be overlapped together correctly.
1. Install Sill Pan Flashing
The first step in flashing a flanged window is to install sill pan flashing, which blocks water from getting into the wall assembly.
You can use any self-adhering or liquid applied membrane for this purpose. However, the membrane of you choice must cover the window jamb to a height of at least 8 inches and extend 2 or more inches over the top control layer OR past the window flange.
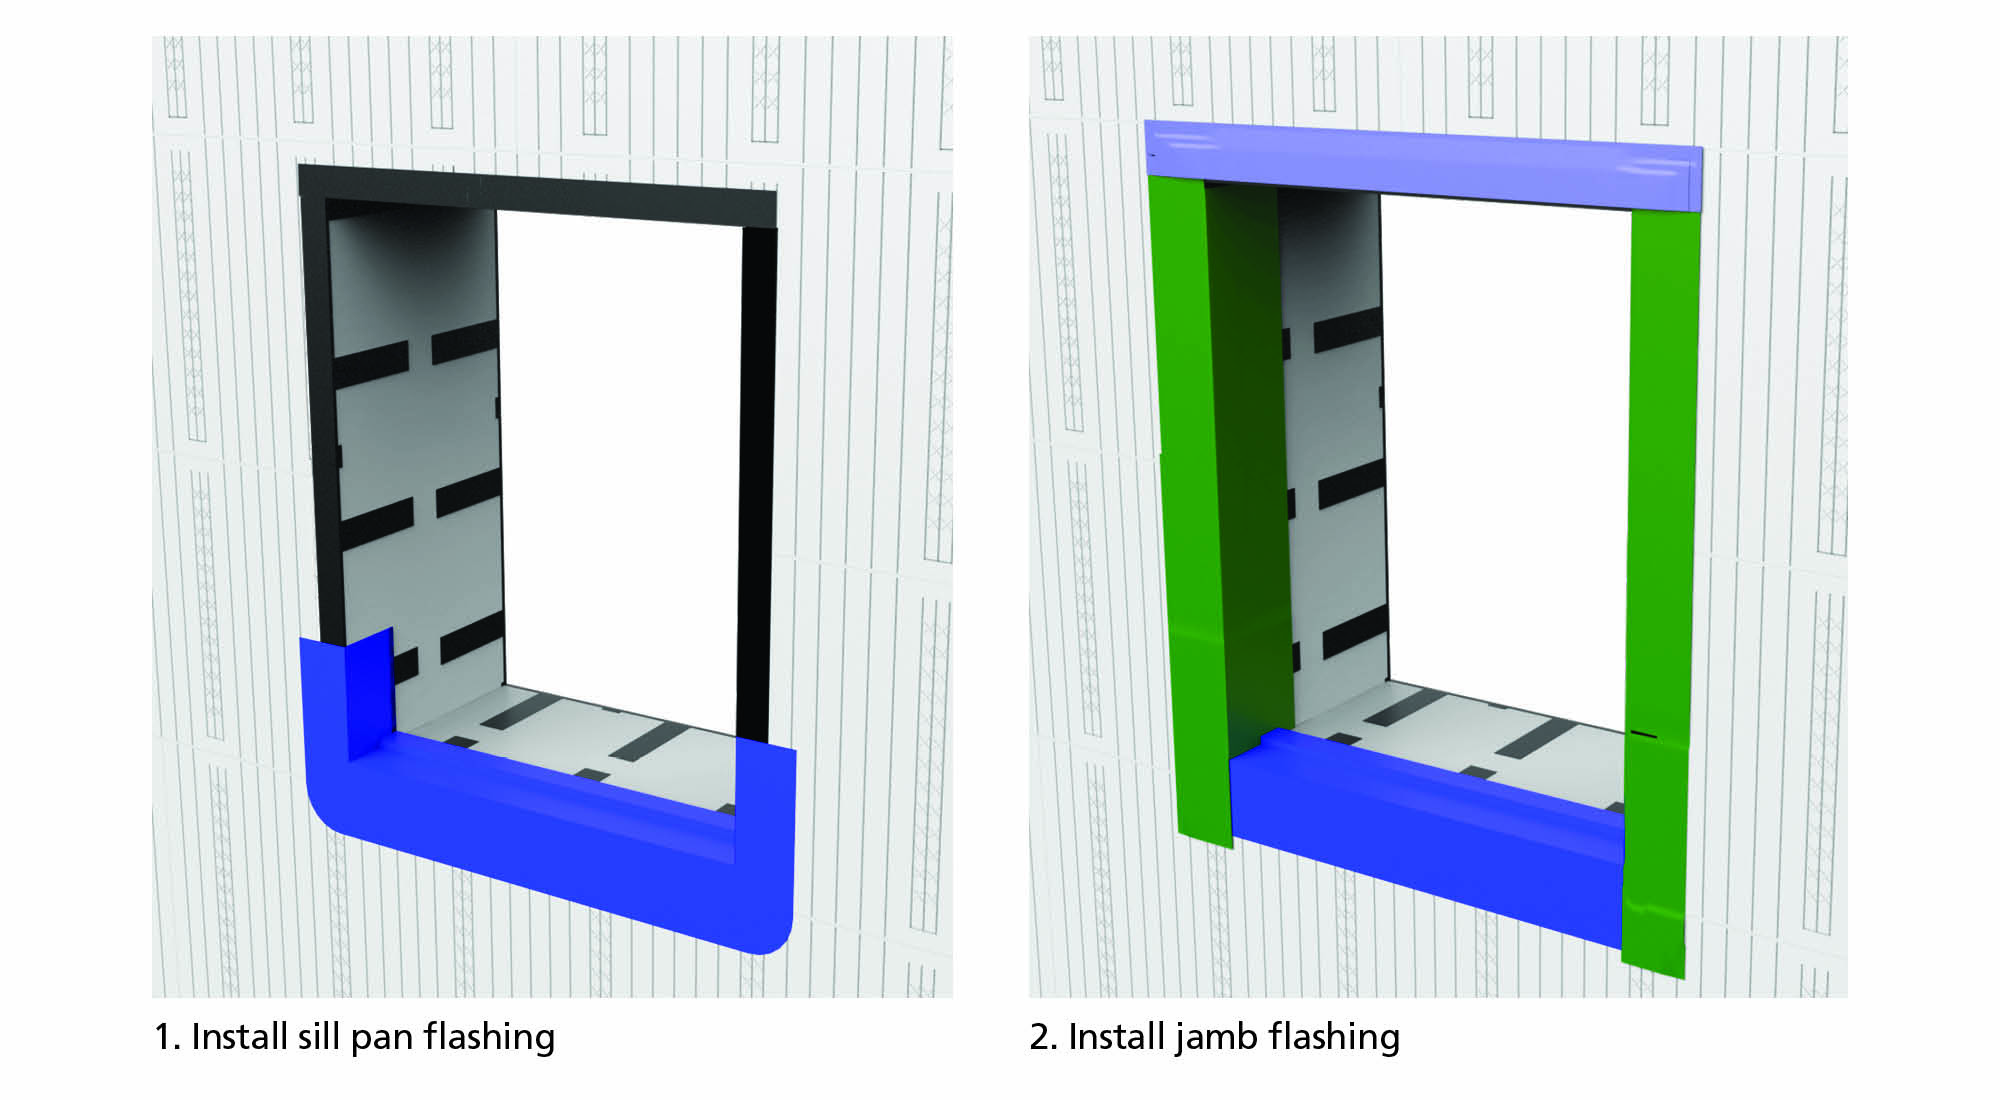
2. Install Jamb Flashing
The next step is to flash the window jamb with any self-adhering or liquid-applied membrane. You must apply the said membrane the entire height of the window jamb, overlapping the pan sill you installed in the previous step.
During this step, use a roller to apply the membrane — doing so will ensure that the flashing membrane develops a strong bond to the rough opening.
Note: If you plan to install optional header flashing later, it will have to overlap the flashing at the jamb.
3. Create a Kerf Cut (Optional)
This step is optional and arguably redundant, but if you want the “belt-and-suspenders” solution, then consider creating a kerf cut above the window assembly. Adding the kerf cut detail will further improve the assembly’s ability to repel water ingress.
To add this detail, create a 15-degree sloped kerf right above the header, and up to the concrete surface beyond the first insulation layer of the Logix ICF wall. Then, apply a self-adhering or liquid-applied membrane into the kerf cavity, such that the membrane comes in contact with the concrete surface.
4. Affix the Window Assembly
You’re now ready to install the window assembly. Here are a few things to keep in mind at this step of the installation.
Firstly, try to align the window with the exterior insulation plane of the Logix ICF wall; having these elements flush together will improve the wall’s thermal performance. A product such as Logix Pro Buck will act as an effective thermal break and boost the energy performance even further.
Secondly, do not fasten the bottom flange. Instead, create a drainage channel at the bottom flange location using shims.
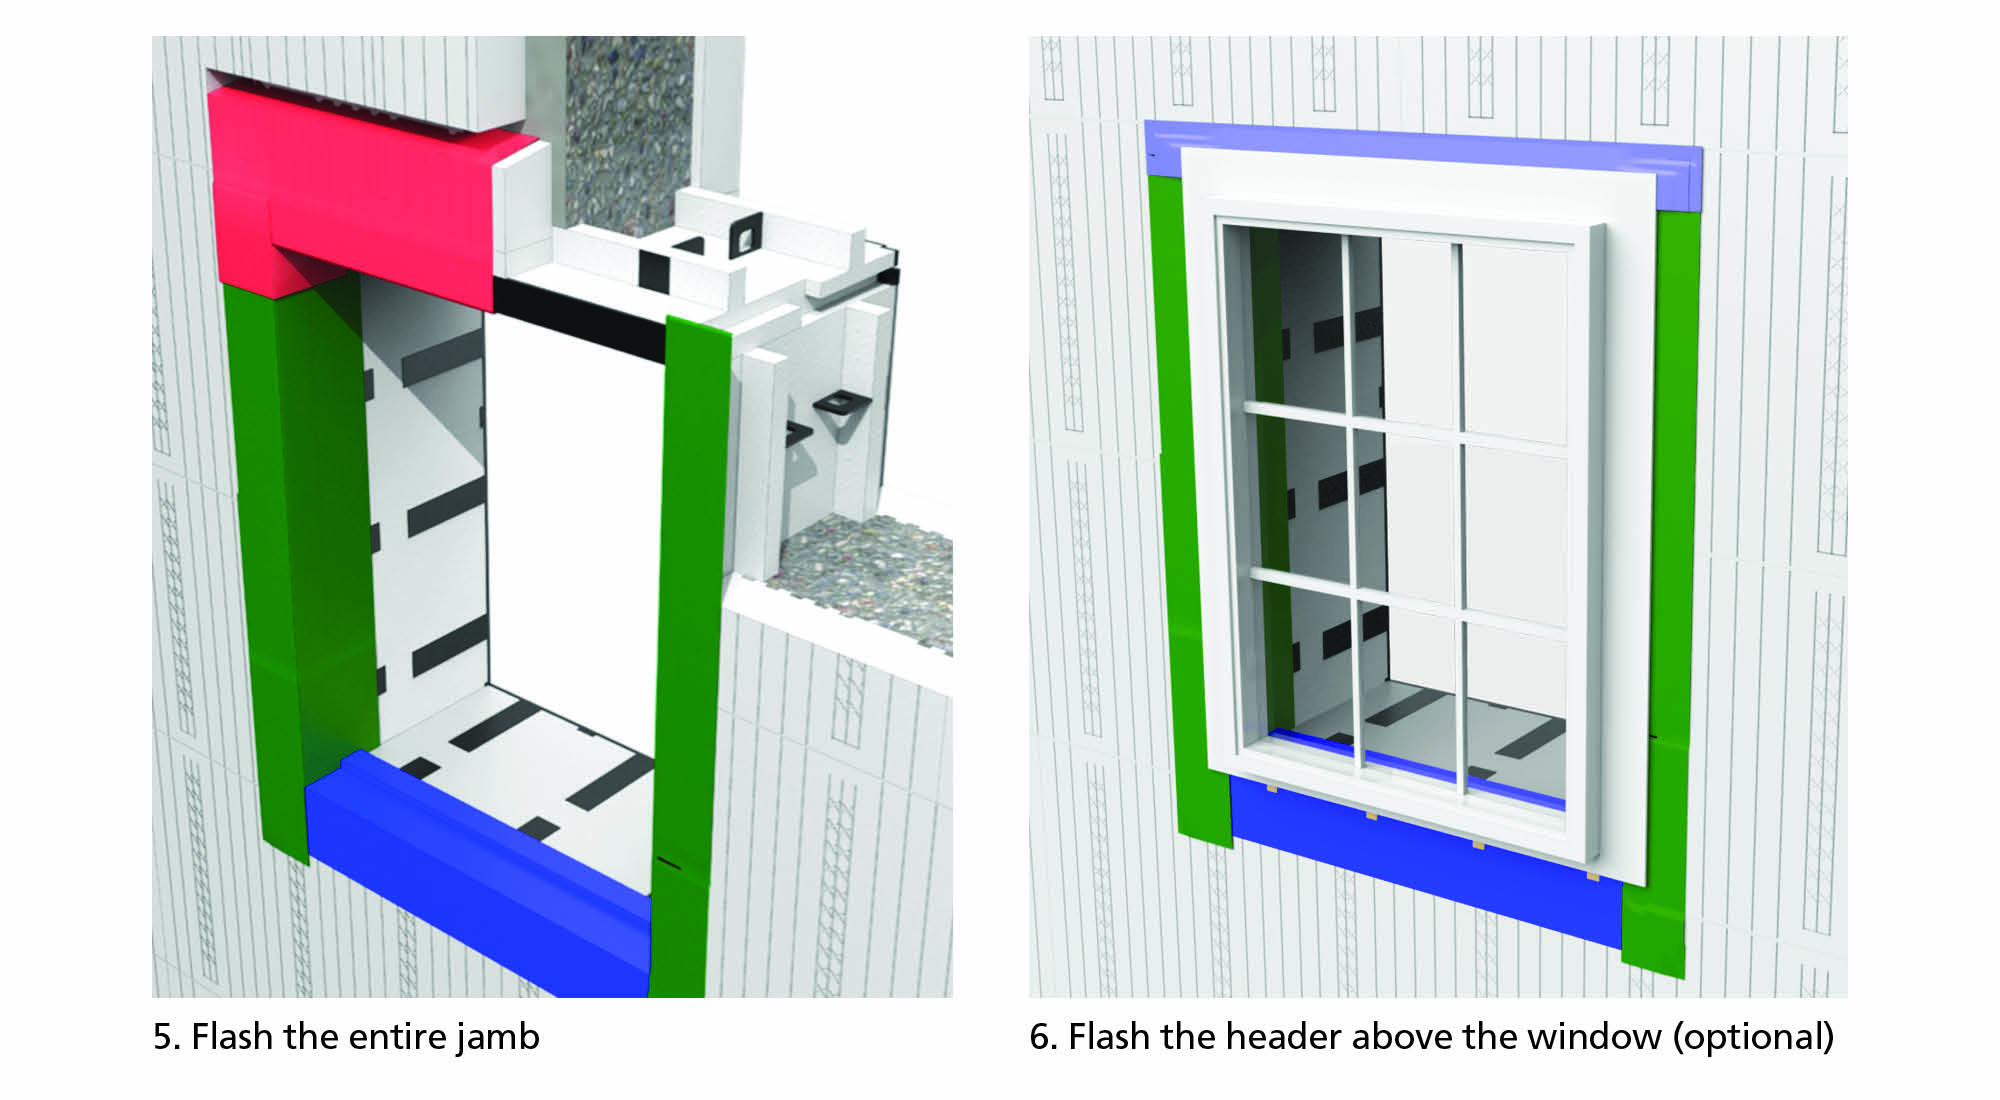
5. Flash the Entire Jamb
With the window assembly in place, your next step is to coat the entirety of the jamb with a self-adhering or liquid-applied membrane. The membrane must extend over the flange and overlap the ICF insulation surface by at least 2 inches.
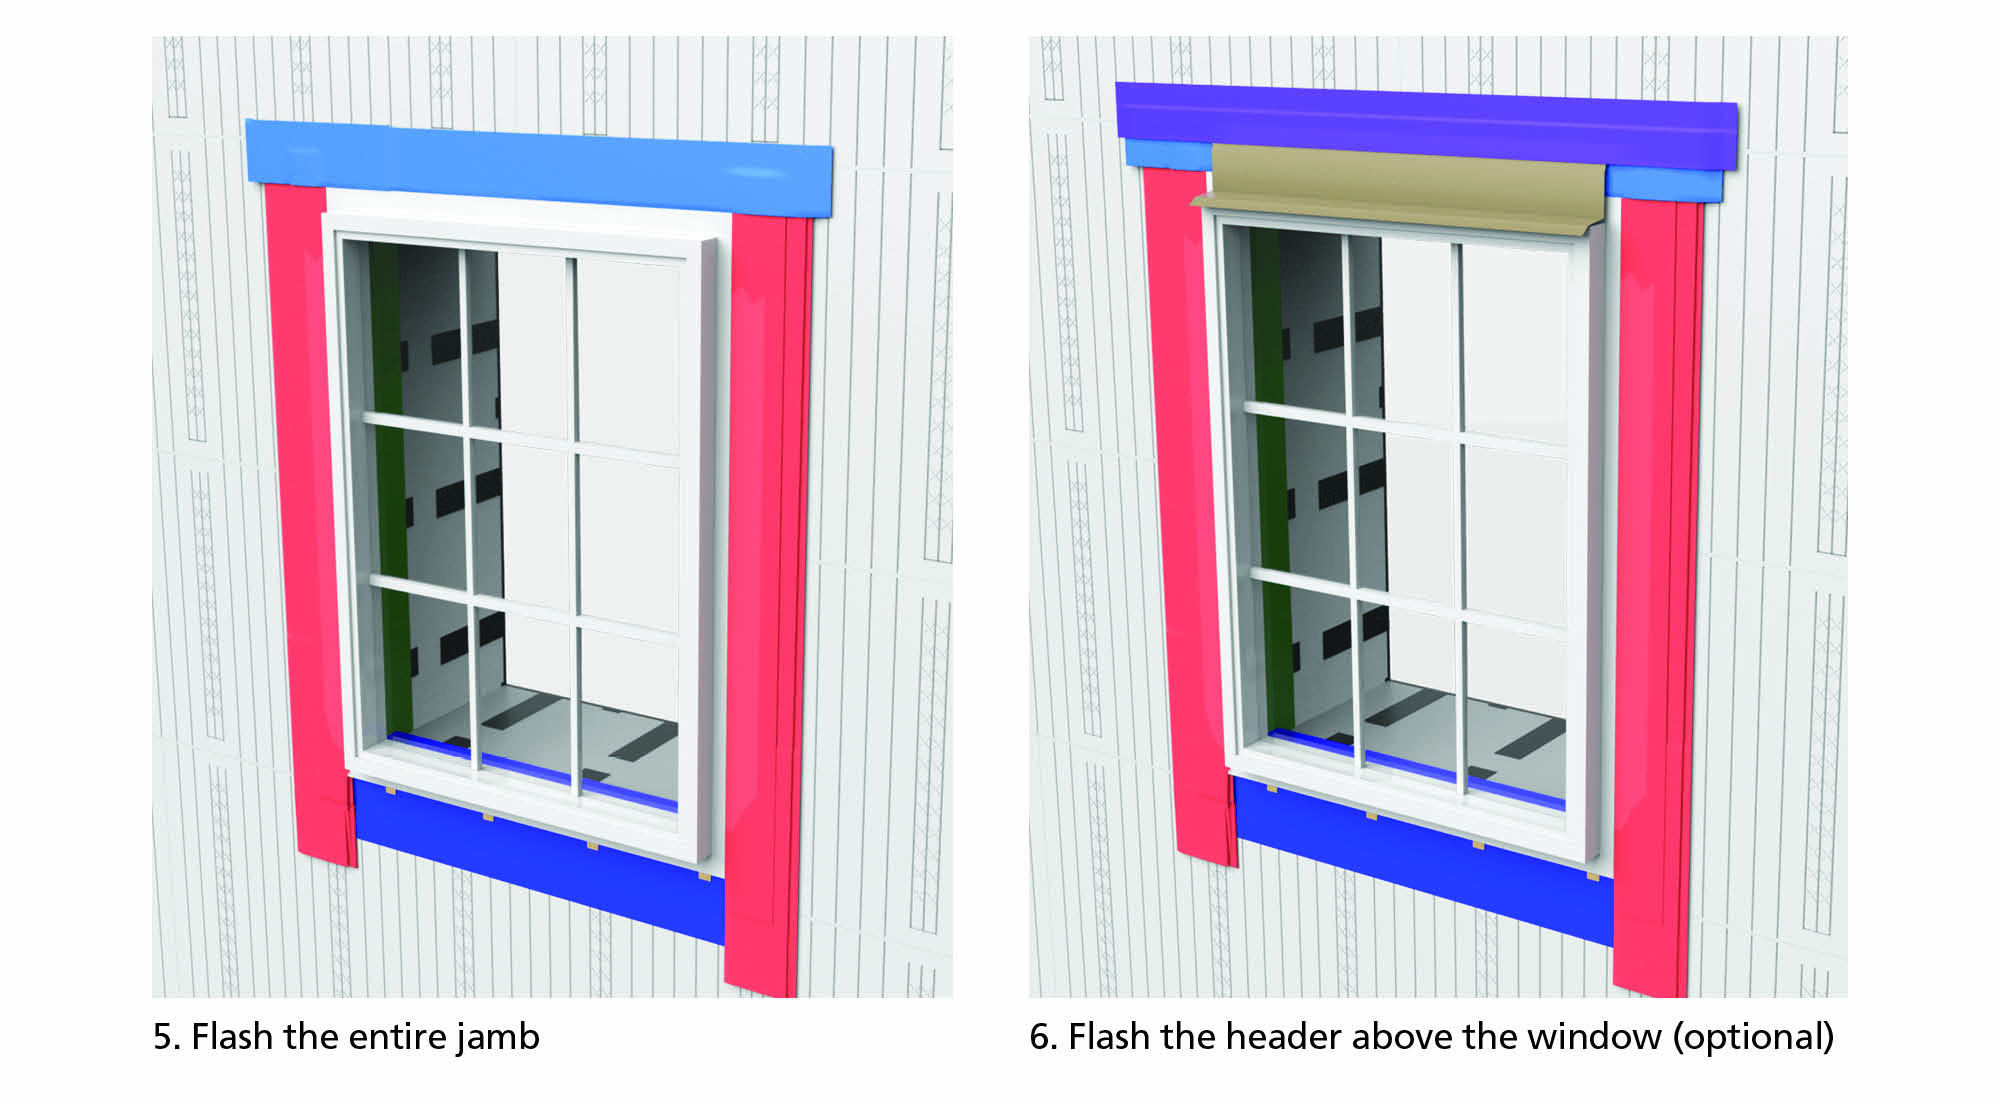
6. Flash the Header Above the Window (Optional)
This next step is optional and rarely done; however, flashing the header above the window is recommended as it helps ensure a robust envelope system.
If you choose to install vinyl or metal flashing at the header, apply a layer of self-adhering or liquid applied membrane over it such that this membrane overlaps the jamb flashing (as we pointed out in Step 2). The membrane should also overlap the Logix ICF insulation panel by 2 inches or more.
Note: If you’re creating a kerf detail above the window assembly, you’ll have to extend the flashing into the kerf cavity up to the concrete core surface. Then, you will need to apply a polymer sealant where the final flashing layer interfaces with the concrete.
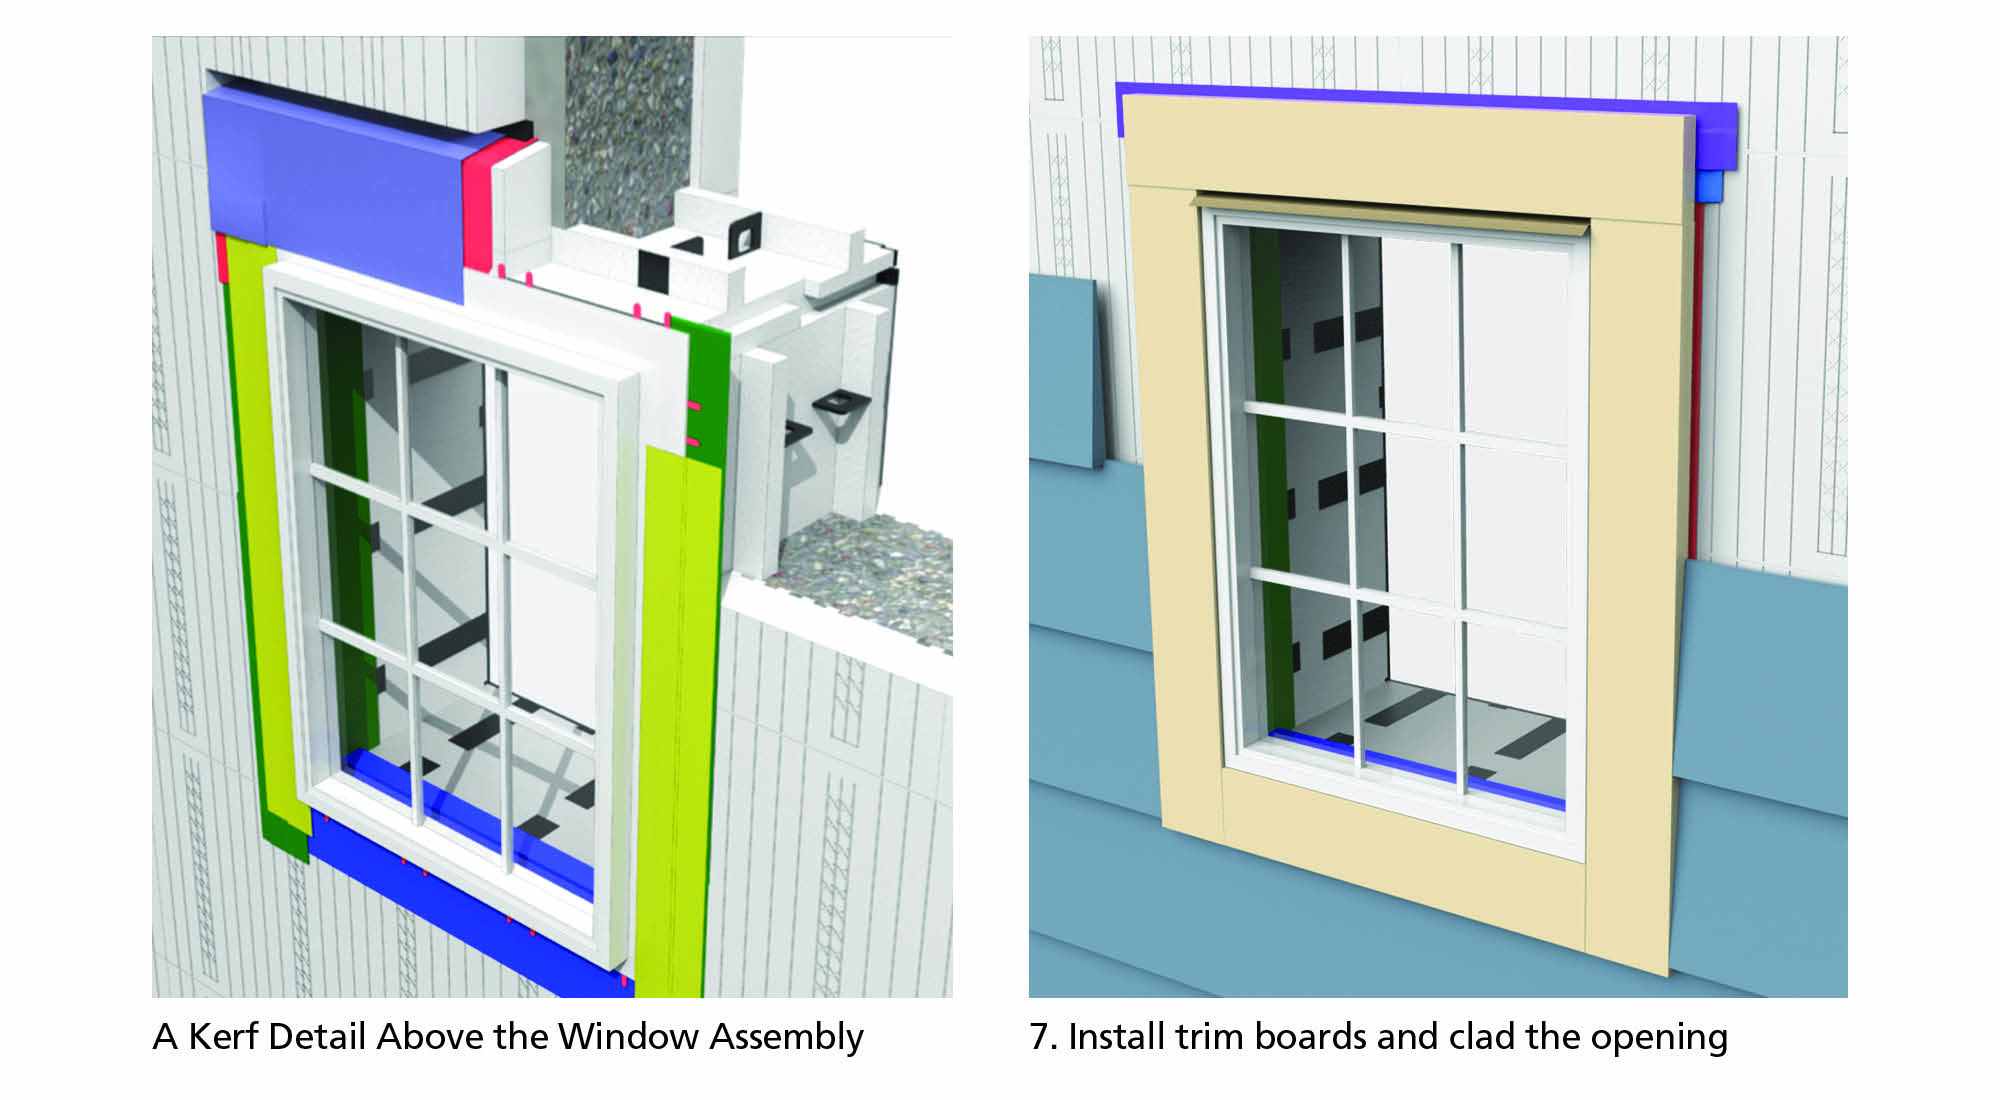
7. Install Trim Boards and Clad the Opening
With a properly flashed window, you can now install the trim boards and cladding in accordance with the drawings
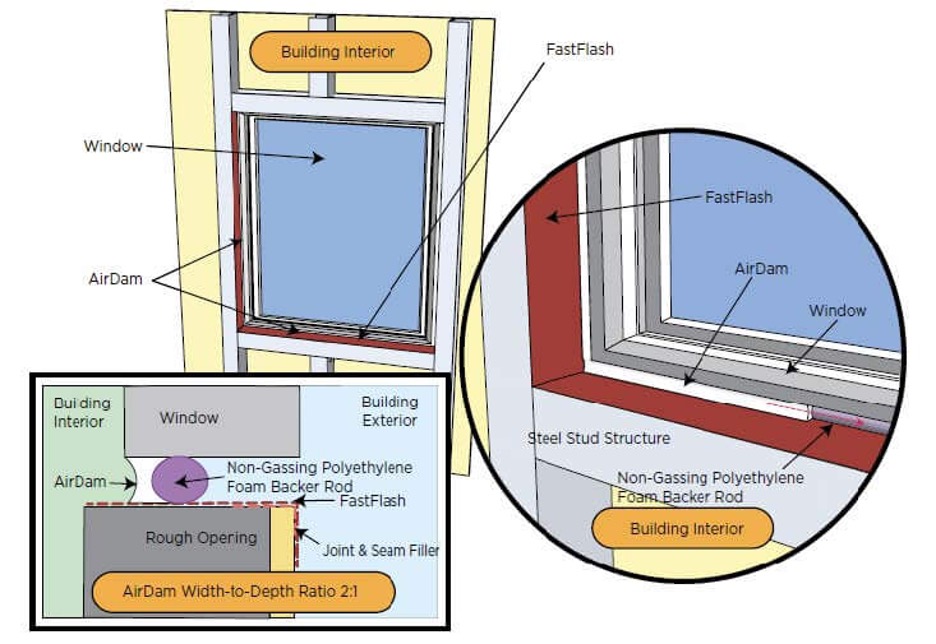
8. Create an Air Seal at the Window Assembly
The final installation step is to create an effective air seal at the window opening. You can do so by sealing the window with flexible caulking and a backer rod from the interior.
Wrapping it up
Flashing a flanged window in a Logix ICF wall is an effective means of preventing water ingress and protecting both the window and the wall. The eight simple steps above should be straightforward enough to follow; however, if you’d like to learn more about the optional kerf detail, you can check out this technical bulletin for more details.
Content provided by: Andy Lennox, President at Logix Brands Inc
