
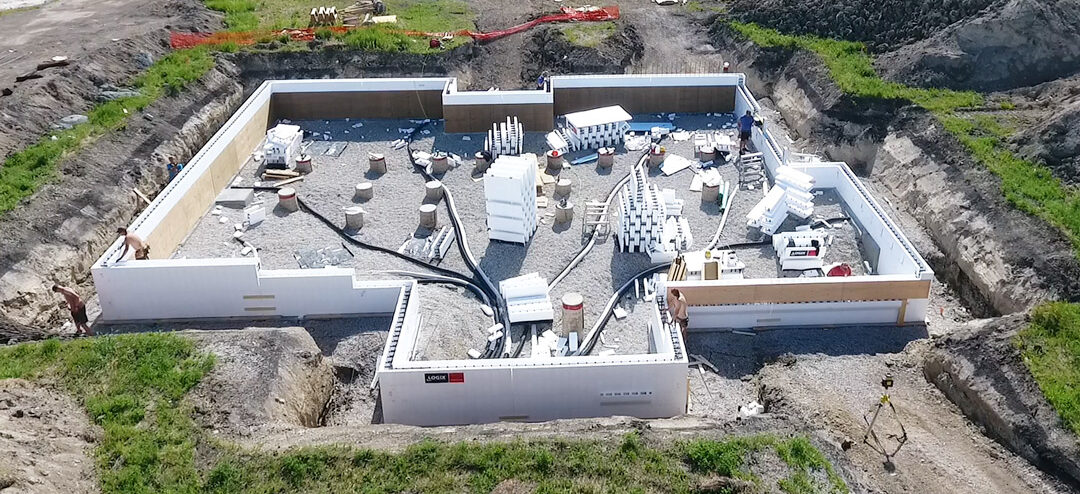
Are you considering upgrading to an ICF foundation after you have completed your building plans?
The good news is that changing conventional plans to a Logix ICF foundation is a straightforward task – you just have to consider all the nuances of an ICF wall in the shift.
Our guide below will help you do just that: you’ll learn what key factors you must consider at both the design and construction stages, and how to get your change approved quickly by the building department.
5 Design Phase Considerations
Pay particular attention to the 5 factors below, and your conventional-to-Logix ICF basement pivot should go down without a hitch.
1. Footings
You shouldn’t have to change much with the footing design unless your footings are stepped. In case you do have stepped footings, you have two options for creating a smooth interface between them and the ICF basement wall:
- Use 2 courses of the Logix V12 blocks on the steps, as such footings are typically 24 inches high.
- Opt for regular, 16-inch Logix Pro blocks, but change the stepped footing heights to 16 inches.
2. Foundation Walls Thickness
You’ll need to plan for thicker foundation walls if you’re pivoting your basement design to ICF. It may sound like a hassle, but despite the greater wall thickness, switching to ICF walls allows you to eliminate any interior framing you’d otherwise get with a traditional concrete wall.
How thick the walls will get depends on your preferred size of the concrete core. Here are two examples of standard Logix ICF core sizes and the widths they add to conventional, in-situ concrete foundation walls:
- 25-inch core: Adds 3 ¾ inches to a conventional concrete foundation wall
- 8-inch core: Adds 5.5 inches to a conventional concrete foundation wall
The most straightforward way to accommodate the increase in wall thickness is to have the exterior ICF surface line up with the exterior face of the original concrete wall. This approach lets you preserve the original building footprint, and the net floor area of the main floor remains intact. However, effectively adding the extra thickness to the inside face of the wall means that the basement floor area will shrink a bit. This being the case, be mindful of any conflicts a smaller basement floor area may result in, like not conforming to minimum bathroom dimensions or clearances at stairways.
A slightly more complex approach to changing the design to the thicker ICF walls is to expand the building footprint outward. Doing so preserves the interior basement dimensions but forces you to change the dimensions of the exterior above-grade walls, a design change that comes with extra costs.
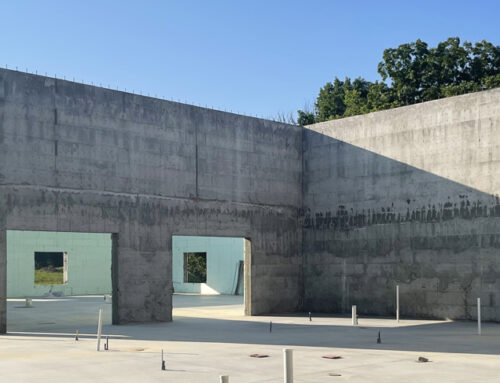
3. Foundation Wall Height
9 feet 4 inches is the ideal height of a foundation wall with Logix Pro blocks because it allows you to construct the wall without cutting the blocks in the field. However, by using the Logix Pro blocks together with the V-12 blocks, you can achieve any wall height in 4-inch increments without field-cutting.
Note that changing your original wall height to accommodate an ICF design means a change to the excavation depth, too.
In the vast majority of changes, these changes will be approved by your building officials without complications.
4. Reinforcement Engineering
As with any concrete foundation wall, an ICF wall requires adequate reinforcement. Logix has produced a Prescriptive Engineering manual that applies to residential applications, and you can use this manual as guidance in your ICF rebar calculations.
Note that local codes’ seismic and wind provisions, as well as the soil conditions, are all factors that must be considered in your rebar calculations so that you end up with a code compliant ICF foundation.
5. Consider Using the Logix Taper Top Blocks at the Top Course
The top course of an ICF foundation wall requires more bearing surface to accommodate the above-grade walls. Logix ICF has designed the Taper Top block specifically for this application. Using the Taper Top blocks for the top course of a Logix ICF wall is mandatory if you’ve got brick veneer, and is strongly recommended at all other times.

How to Get a Quick Approval From Building Officials
With your drawings converted, you must first get the building department’s approval before construction can proceed. You can get your building officials to review and approve the changes quickly in two ways.
- Option 1: Submit original plans and an addendum. The first option is to submit the original construction drawings with an addendum that stipulates the changes. To prepare your submittal, first download the Logix ICF foundation wall section and rebar engineering specs. These documents are readily available in the Logix Technical Library. Then, label these documents “Alternative ICF Foundation Option” and attach them to the original plans.
- Option 2: Submit a new set showing the ICF foundation walls. If you’re working on a simple single-family home, the redesign should be a straightforward activity — as long as you account for the 5 design considerations listed in the section above. That said, generating a new set of drawings may be a tedious and expensive effort if the building footprint is more complex, and the first option may be more suitable.
Regardless of which option you choose, your application will be treated as a new one if you already had your permit approved before you decided to pivot.

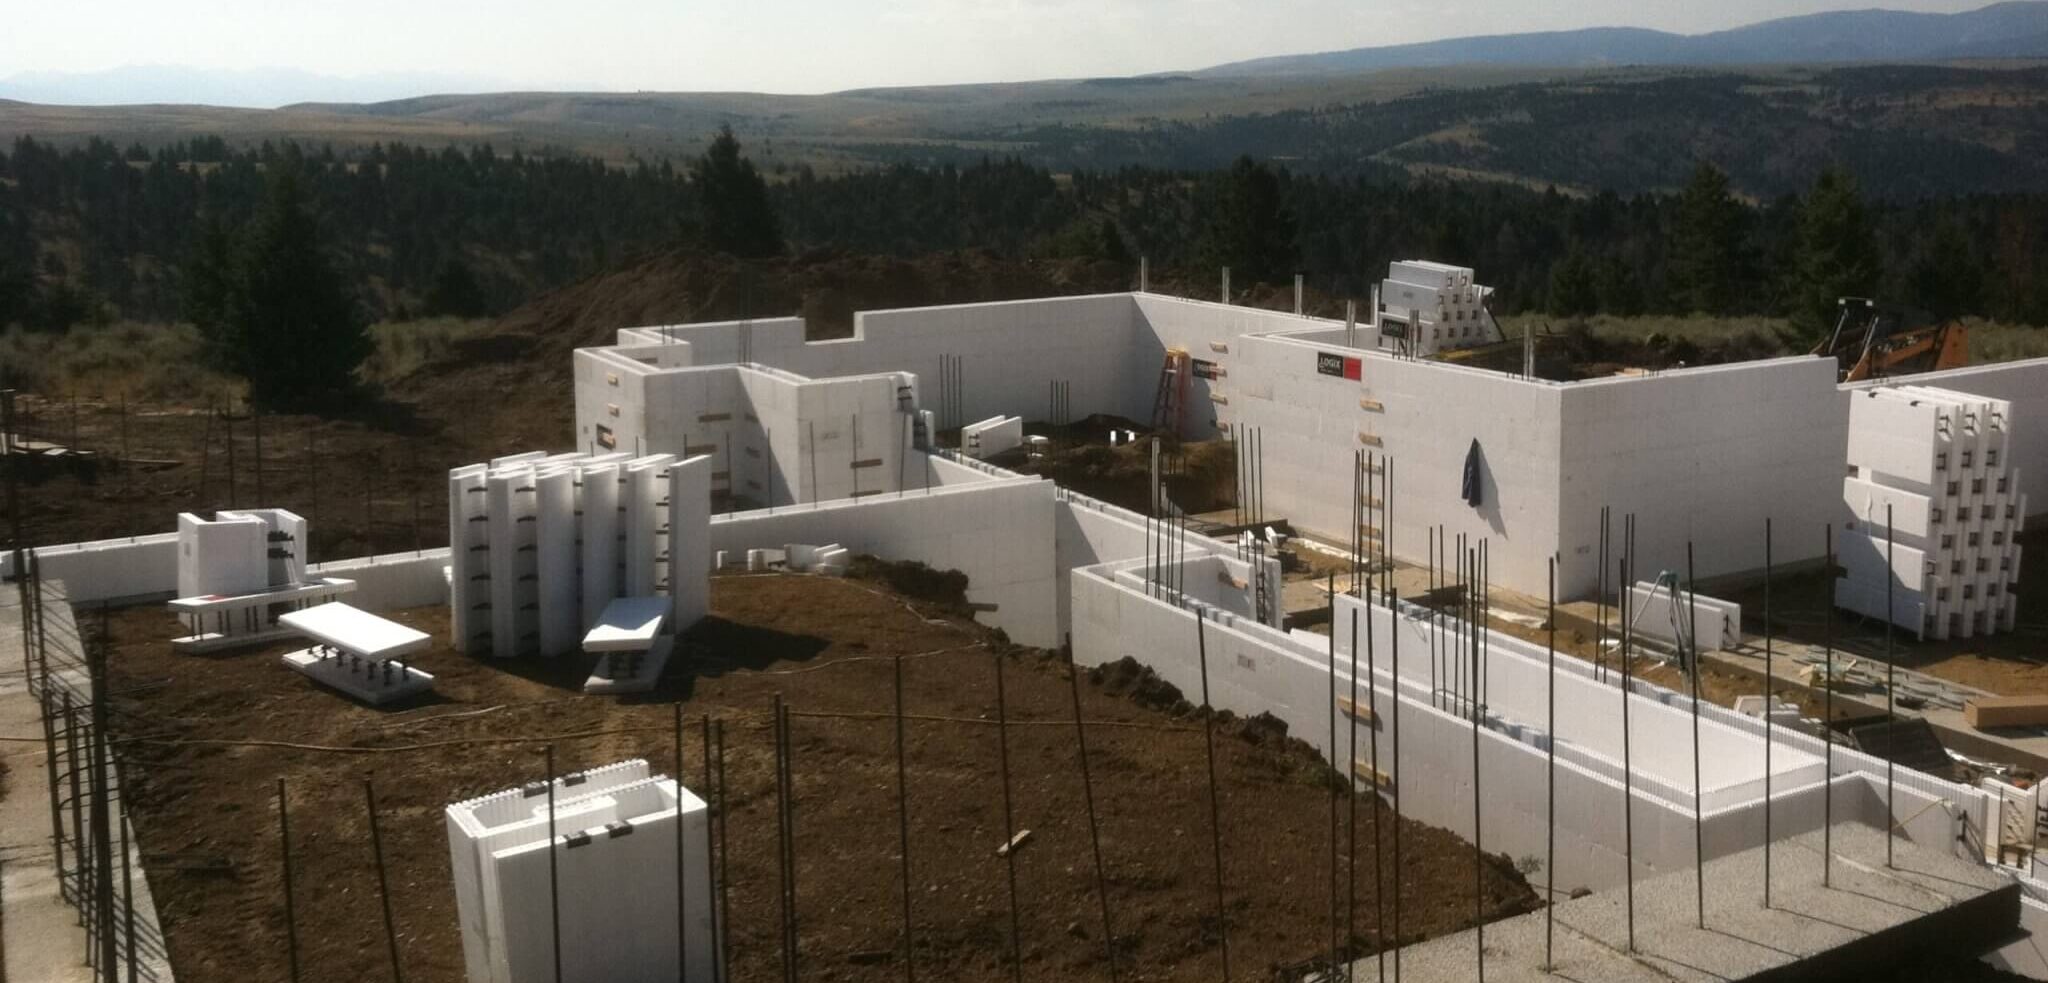
Construction Phase Considerations
The pivot from a conventional design to ICF occurs in two phases: at the drawing table and on the construction site. Below are a few factors you should keep in mind once you already have your revamped design and building permit, and the shovels are ready to hit the dirt.
- Garage slab: During excavation, take stock of the new foundation wall heights and make sure that you’ll still be able to slope the garage slab to the sewer.
- ICF sill plate: The ICF sill plate increases the height of the foundation wall by 1 ⅝ inches. Make sure the crew is aware of this difference during construction.
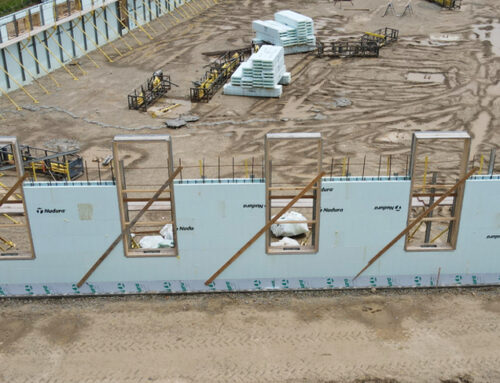
- Waterproofing: All ICF foundation walls must be waterproofed — it’s a requirement, not a recommendation. Peel-and-stick and dimple board are both acceptable waterproofing options for a Logix ICF foundation wall.
- Foundation wall-siding interface: You’ll end up with a transition strip between the top of the ICF foundation wall and the veneer at the above-grade wall. Most builders conceal this strip with parging, although faux stone and metal siding are equally acceptable.
- Ignition barrier: Now that you’ve got an ICF insulation panel facing the interior of the basement, you’ll need to cover it with a compliant ignition barrier to get your Certificate of Occupancy. Drywall is a compliant ignition barrier and all you have to do at this stage is screw it to the interior face of the ICF wall. You can choose to leave it as is, untaped and unfinished, if you wish to.
Changing a conventional in-situ concrete foundation wall to an ICF wall is worthwhile if you want to build higher-performing buildings that get you more ROI. The good news is that generally, such a pivot is painless so long as you account for the unique aspects of ICF walls and communicate the change to the building department properly.
