Continuing Up The Wall
Welcome to the BuildBlock ICF Installer Training Series: Continuing Up The Wall. This 20 part video series is intended to be an educational walkthrough of the ICF building process. From the early planning phases to pouring concrete and finishing walls, this series will provide the basic knowledge you need to have a successful BuildBlock ICF build.
In the 11th video of this series, we discuss best practices for continuing up the wall after the first few courses are stacked and shimmed and trimmed to level. We also cover how to prepare for openings and penetrations as well as the best practices for communicating vertical rebar placement and locations of vertical seams.
The videos in this series are produced as a companion to the BuildBlock Installation and Technical Manuals available for free download on the Publications Page or for purchase via the BuildBlock Online Store. You can view more videos in this series via the BuildBlock Blog or by subscribing to the BuildBlock YouTube Page. For a more in depth training experience, you can take the free Online ICF Installer Training Series.
Video Transcript
Continuing Up the Wall
In this video we will cover best practices for continuing to stack the wall after the first courses are stacked, and shimmed, and trimmed to level. We will also talk about preparing for openings and penetrations, as well as communicating vertical rebar placement and locations, and vertical seams.
After the first two courses are stacked, the ICFs should be leveled by shimming and trimming the block bottoms where necessary. Once level, spot glue every 16-24 inches on both sides to keep the blocks in place. Using too much foam glue will lift the blocks out of level and plumb again.
Continue stacking blocks up to the final height of the wall or the first floor while checking for plumb often. Communication is key, mark on the blocks, the location of all vertical rebar dowels from the footing or foundation. Mark the location of window and door rough openings, centerlines, and special cuts.
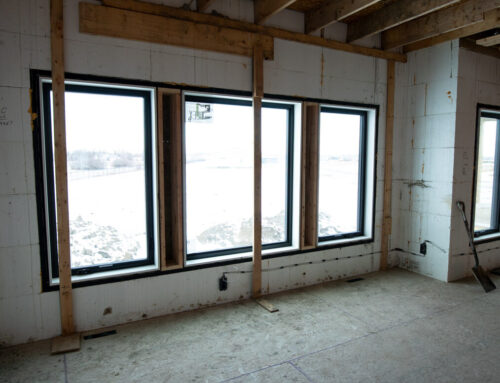
Install bucking in openings when building the wall, and brace, strap, and reinforce as necessary. Always double check opening measurements at the bottom, middle, and top of the opening to make sure they remain square and the wall hasn’t grown or shrunk.
When building multiple levels, take note of any specialty blocks or attachments such as taper top blocks, brick ledge blocks, and embedments such as Simpson Strong Ties or Watson hangers. Also, be aware of other embedments or block outs such as brick or masonry ties, weld plates, and beam pockets.
It’s also important to understand final roof attachment requirements. Many jobs will use embedded J-bolts to connect a top plate. In high wind areas embedded strapping such as hurricane straps may be necessary.
Lastly concrete roofs using BuildDeck ICF decking will have different requirements, so plan accordingly.
As you continue to stack the wall, make sure that webs stay aligned vertically throughout the entire project. This keeps all of the attachment points uniform and is helpful when attaching interior and exterior finishes. Refer to the Block Cutting section for useful communication and cutting strategies. Also remember that cut blocks with at least one web can be integrated into the wall. Brace and strap appropriately.
Ensure that adequate rebar is placed horizontally and vertically throughout the entire project. This is typically every other course horizontally and every 12 to 48 inches vertically as specified. Additional vertical rebar on each side of openings as well as lintel steel above doors, windows, or other large openings is also required. Check that lintel stirrups are properly placed where required. Horizontal bars should alternate either side of the center of a wall creating a vertical chase between the alternating horizontal bars.
When the top of the wall is reached, or before the final course is stacked, place vertical rebar as specified. Place vertical tails in the PVC rings at each rebar pin to maintain a continuous lap. Tie off vertical bars to the top horizontal bar. Also remember that unless the wall is continuing up another level, vertical rebar should be cut 1.5” below the height of the wall to ensure it doesn’t interfere with screeding the top of the wall smooth.
Verify the wall height and note any specialty blocks required for the last course such as brickledge, taper top, and half height blocks.
Follow these recommendations to ensure a plumb and level project, proper reinforcement, and efficient wall stacking with the least waste possible.
Refer to the BuildBlock Installation and Technical manual for more information and buildblock.com for additional resources.

